
Dust Under PPF and When Film Needs Correction
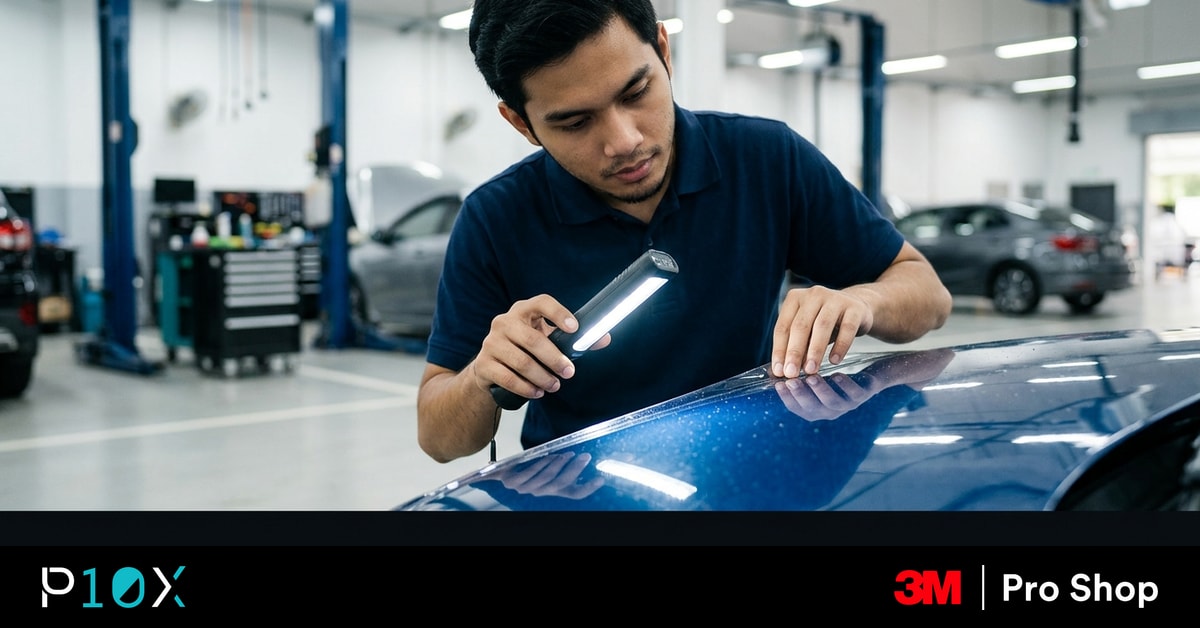
- Separate an expected result from a defect by using the same light, distance and function check.
- Record the condition before work and repeat the same inspection at handover.
- Ask the shop to explain its method for the exact panel or window.
- Stop and request direct review when the result affects adhesion, operation or driving visibility.
dust under PPF is easier to judge when you separate the visible result from the process behind it. This guide focuses on how size, location, type and pattern determine whether a trapped speck is a minor cosmetic issue or a correction case.
A useful first step is the 3M PPF installation guide. It explains the wider material and installation context before you assess this specific question. The how to check the car before PPF helps turn the concern into a practical panel or window plan.
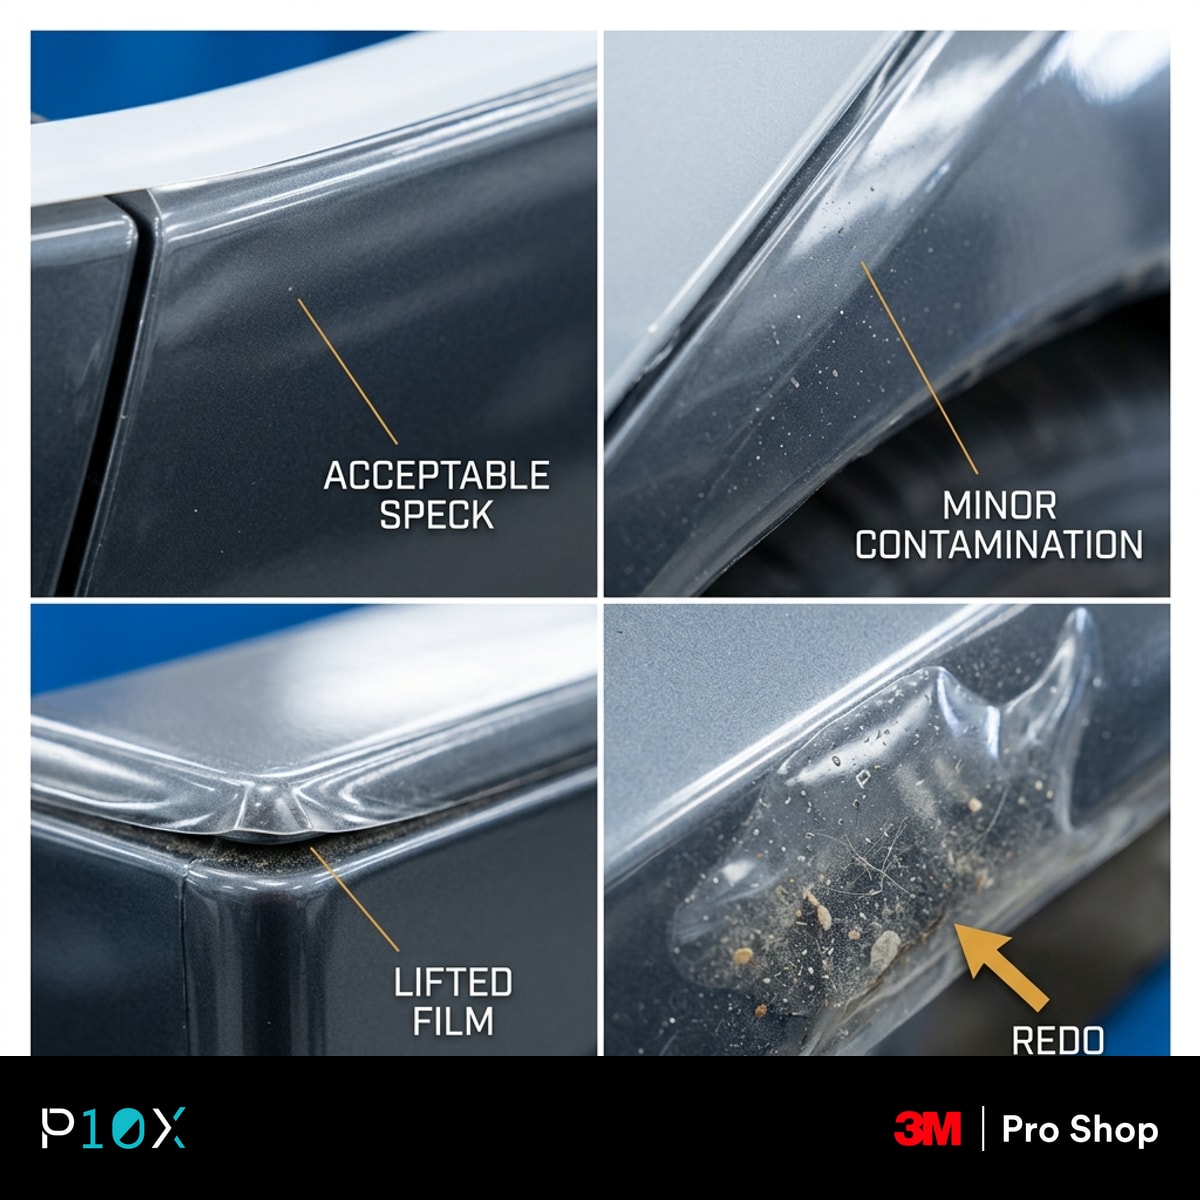
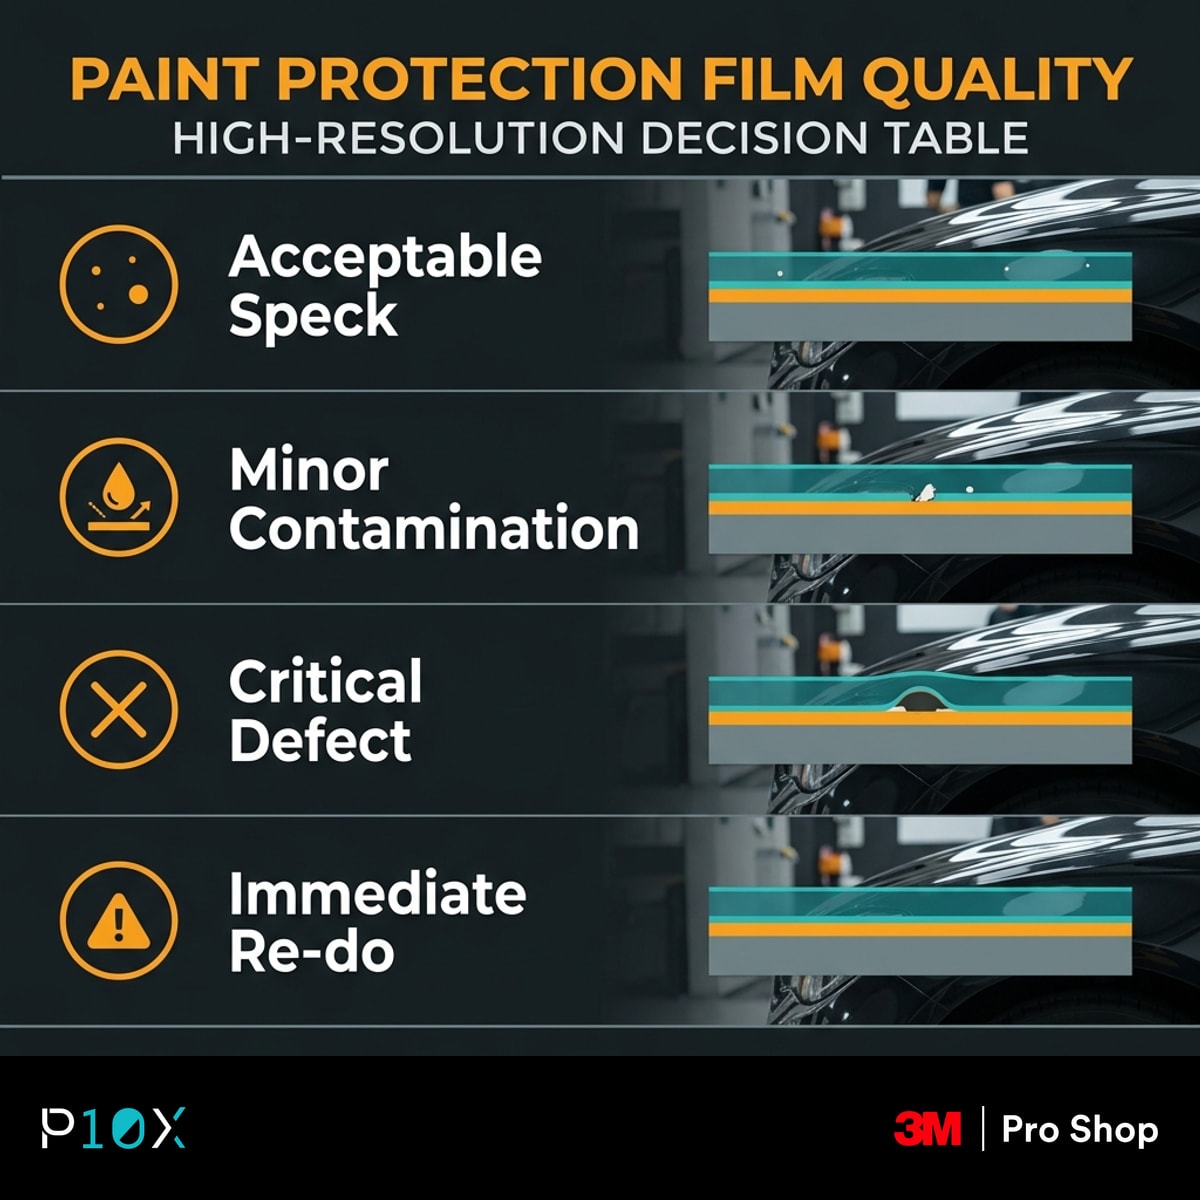
Most confusion begins when an owner sees one detail without knowing whether it is expected. In this case, a normal result can include a tiny isolated point away from an edge that stays flat and is invisible from normal distance. The warning signs are different: fibres, raised particles, clusters, edge contamination and anything that creates a sharp tent in the film.
The answer is not to inspect the car from two centimetres away and demand that every surface look impossible. It is to use repeatable lighting, distance and function checks. Start with the speck under direct light, from one metre away, at the film edge and after the settling period. Photograph the result before touching or cleaning anything.
Before work begins, ask the shop this exact question: “Mark each concern with removable tape and inspect it with me by size, type, location and pattern.” A specific reply shows that the technician has planned the job around your vehicle rather than repeating a general sales promise.
First Separate Moisture From Solid Dust
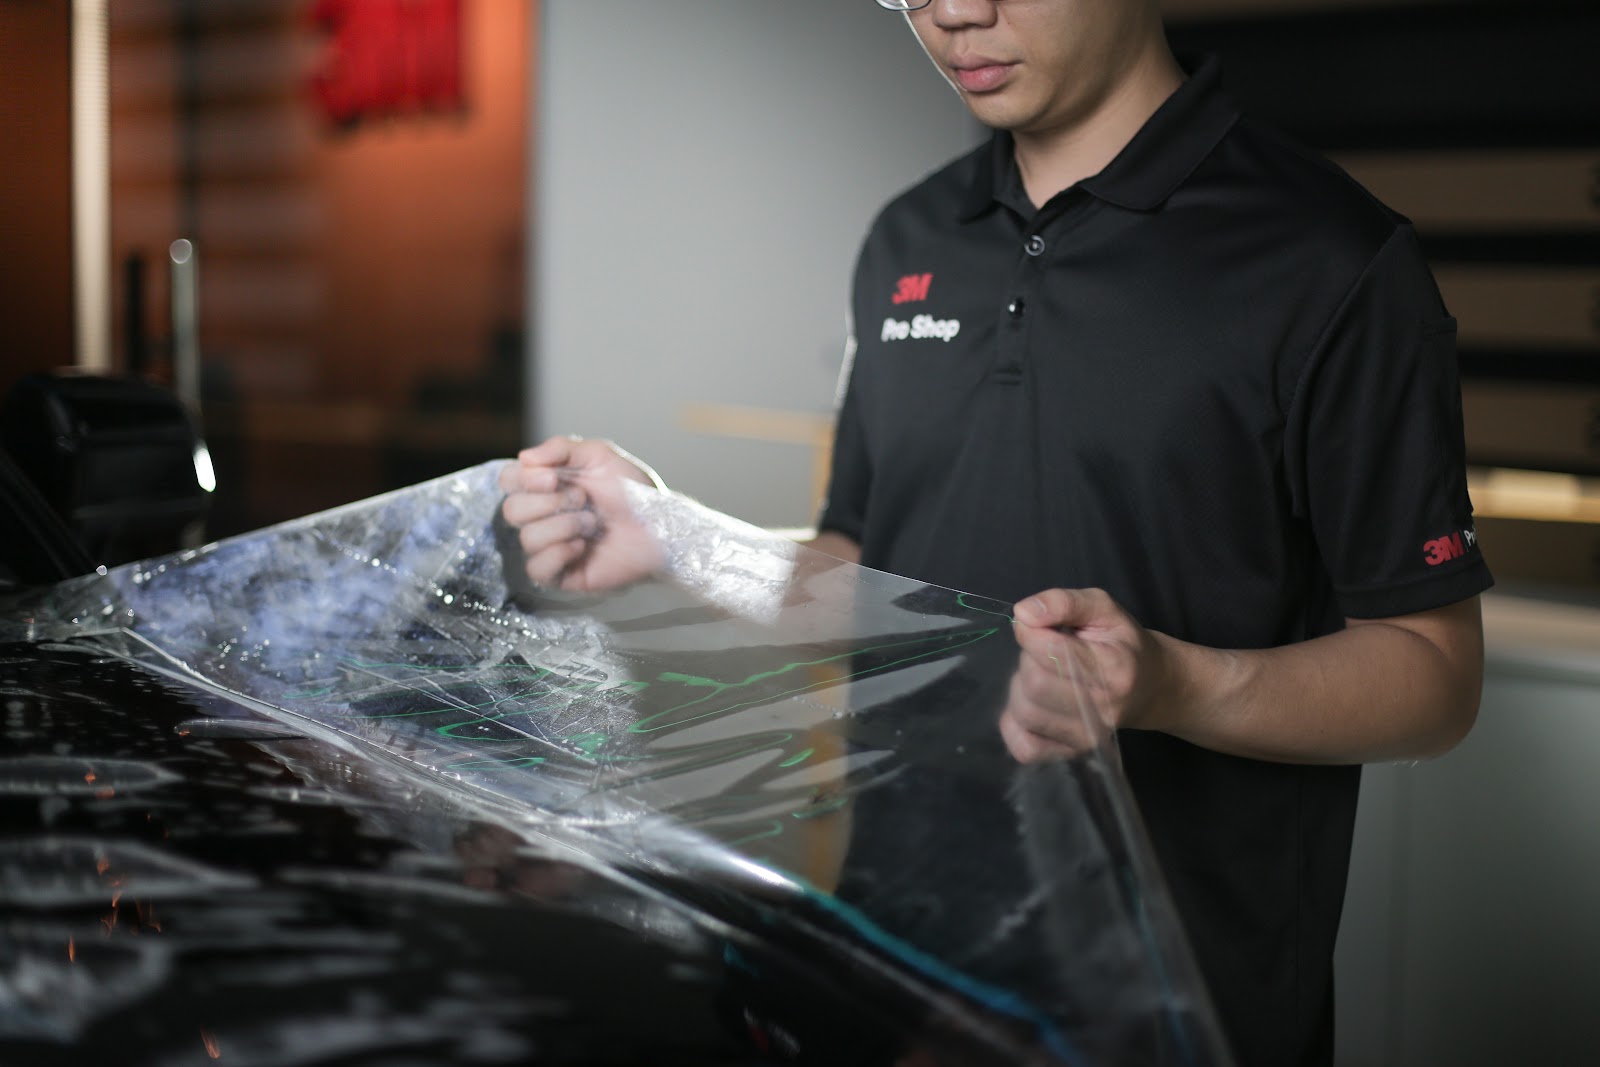
Fresh PPF can show cloudy moisture and small solution pockets while adhesive settles. A solid particle has a fixed centre and usually creates a point that does not change shape when the viewing angle moves.
Do not press or chase a mark on a fresh panel. Photograph it with a location reference, then compare the same area after the workshop review period.
Use a simple record as you inspect. Note the panel or window, the viewing condition and what changes when the angle or function changes. This prevents one close photograph from becoming the whole diagnosis and gives the workshop something precise to review.
Size Matters Less Than Height
A flat dark fibre may be more visible than a tiny grain, while a hard raised particle can create a tent that concentrates stress. Height and sharpness therefore matter alongside width.
View the mark with a low side light. If the film rises sharply or the particle appears capable of puncturing the layer, ask for direct correction.
The practical standard is consistent work that suits the part. Compare similar areas on the same vehicle, then compare the result with the agreed method. If the two sides differ, ask for the reason before assuming either side is correct.
Location Changes the Decision
A speck in the middle of a bonnet is mainly an appearance issue. The same contamination at a wrapped edge can interrupt adhesive contact and give washing pressure a place to enter.
Corners, deep channels and stretched bumper zones deserve closer attention because the film is already managing tension there.
Do not attempt a blade, adhesive or trim correction at home. A small mark can become a larger repair when the material is pulled without knowing its tension, edge route or the condition below it. Keep the area clean and let the installer inspect it.
Clusters Point to Process Control
One isolated point can occur even in a controlled bay. Several particles in one area, repeated lint strands or a dirty perimeter suggest that cleaning and handling failed.
Map the marks rather than arguing about a single dot. A pattern helps the shop decide whether a local lift can solve the issue or whether the panel should be redone.
Use a simple record as you inspect. Note the panel or window, the viewing condition and what changes when the angle or function changes. This prevents one close photograph from becoming the whole diagnosis and gives the workshop something precise to review.
Local Lifting Has Trade Offs
An installer may lift a nearby section, remove contamination and lay the film again. That can work when access is short and the film has not been overstretched or contaminated during the correction.
Repeated lifting can introduce new marks or change tension. Ask how far the film must be opened and whether a fresh piece would give a more predictable result.
The practical standard is consistent work that suits the part. Compare similar areas on the same vehicle, then compare the result with the agreed method. If the two sides differ, ask for the reason before assuming either side is correct.

Inspect Under Consistent Lighting
Use the same bright light, distance and panel temperature for the follow up. Harsh close lighting is good for diagnosis, while one metre shows whether the issue affects normal appearance.
Agree on both views. A panel can be technically clean under normal use yet contain a microscopic point, or appear poor from normal distance even if each particle seems small alone.
Do not attempt a blade, adhesive or trim correction at home. A small mark can become a larger repair when the material is pulled without knowing its tension, edge route or the condition below it. Keep the area clean and let the installer inspect it.
Use a Repeatable Handover Check
Start from the original record. Put the car in similar light and repeat the same functions in the same order. Check the speck under direct light, from one metre away, at the film edge and after the settling period. Avoid changing several conditions at once because that makes the result harder to explain.
A panel divided into 16 inspection zones makes it easier to record whether contamination is isolated or clustered. This is an estimate for organising the inspection, not a product performance claim. The value is that it turns a vague concern into named checkpoints that can be photographed and discussed.
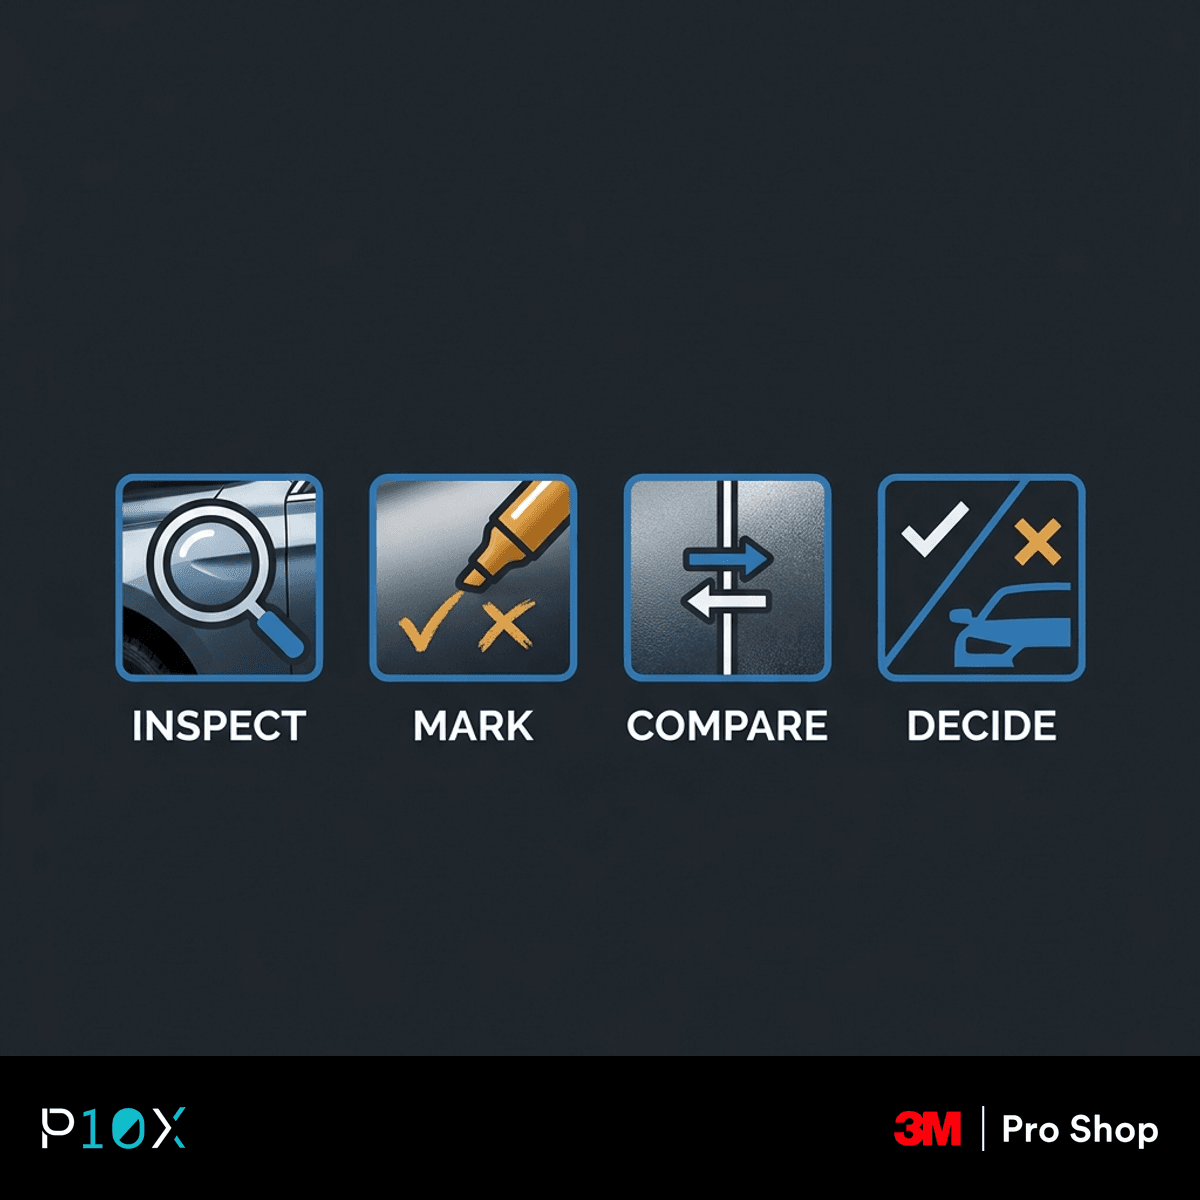
Use three outcomes. Accept means the result matches the planned method and remains stable. Review means the detail needs a closer workshop look but does not affect operation. Stop means there is loss of function, unsafe visibility, lifting, a sharp defect or evidence of damage.
Ask the technician to stand beside the car during the check. A good handover is not a hunt for blame. It is a shared comparison between the promised method, the documented starting condition and the completed work.
Match the Product to Each Area
The product reference matters only after the installation question is understood. The 3M PPF Malaysia comparison provides more context for choosing a series. A thicker or higher performing product cannot correct poor preparation, unsafe cutting or a weak substrate.
Use the table as a conversation guide rather than a universal prescription. Driving pattern, glass construction, paint condition and panel shape can change the final recommendation. The shop should confirm compatibility with the exact vehicle.
| Panel | Exposure | Recommended action | Film reference | Coverage |
|---|---|---|---|---|
| Bonnet centre | High visibility | Isolated flat speck can be reviewed | Series 150, about 8 mil | Full front |
| Bonnet edge | High lift risk | Raised or clustered contamination needs correction | Series 150, about 8 mil | Full front |
| Bumper curve | High tension | Inspect particles that create a tent | Series 150, about 8 mil | Full front |
| Front fender | Medium | Judge pattern from one metre | Series 100, about 7.5 mil | Full front |
| Door cup | Low | Small local piece can be replaced | Series 50, 185 micron | Wear zone |
Document the Workshop Agreement
The job sheet should name the product series, every covered panel or window and any planned exclusions. Add the inspection method that matters for this topic. A short written note is more useful than a verbal promise because another technician may complete the handover.
Photograph the car from normal distance and take close views only where a detail has been agreed. Record existing paint marks, glass scratches, trim movement and electronic warnings. For tint, measure the final glass and film combination where legal VLT applies. For PPF, record paint condition and any panel that has been repaired.
Ask who will review a concern and when. Some fresh installations need time for remaining moisture to leave, while a mechanical or electrical fault needs immediate attention. The workshop should distinguish those categories instead of telling every owner to wait.
Keep the final job sheet, photos and product record together. If a later repair or removal is needed, the next technician can see what material was used and where every edge or seam was intended to finish.
Separate Material From Workmanship
When something looks wrong, first ask whether the observation comes from the material, the installation method or the vehicle itself. A published specification can describe film thickness or optical performance. It cannot prove that a surface was cleaned, a pattern was aligned or a trim piece was refitted correctly.
The vehicle adds a third layer of evidence. Factory glass colour, an old respray, a repaired bumper, brittle trim or a slow window regulator can change the result before new film arrives. That is why the pre check belongs in the same record as the product name and completed photos.
During review, change only one factor at a time. Clean the glass before judging haze. Compare the same panel in two light directions before judging colour. Test a handle before touching the film edge around it. A controlled sequence is slower than guessing, but it gives the installer a cause that can be corrected.
If the evidence points to material behaviour, compare it with the named series data. If it points to workmanship, inspect the local preparation and edge. If it points to the vehicle, pause film correction until the paint, glass, trim or electronics are understood.
Compare the Same Area Twice
A single close view can exaggerate a harmless detail or hide a wider pattern. Begin at normal standing distance, then move closer without changing the light. Repeat the view from the opposite side of the car where a similar panel or window exists.
Use a small ruler or a fixed body feature for scale. Do not place adhesive tape on fresh film. A mirror base, glass corner or panel seam can show whether the photographed concern is one millimetre or one centimetre without touching the installation.
Next, repeat the function connected with the area. Cycle a window only after the care period, operate a handle through its full travel or inspect a PPF edge after gentle washing. Appearance and operation together give a more useful result than either one alone.
Save the first and second inspection in one folder with dates. When a mark shrinks, moves or changes with light, that pattern informs the diagnosis. When it stays fixed and affects the same place every time, the shop can focus on that exact location.
Inspect Again During Normal Use
A workshop bay cannot reproduce every Malaysian driving condition. Recheck the car after normal heat, rain and window or door use. Use daylight and a dry surface. Do not confuse fresh wash water, road dust or cleaner residue with an installation issue.
Repeat the most important function test once. For film on glass, operate only after the advised care period and look for edge movement or contact with seals. For PPF, inspect exposed boundaries after a gentle hand wash and look for a stable, flat finish.
If the observation changes with light, temperature or viewing angle, note that pattern. If it stays fixed, mark the location with removable tape beside the film rather than on it. A clear pattern helps the shop choose the right correction.
Return promptly when the issue affects driving visibility, a powered feature, a sharp film tent or a lifting edge. Small questions are easier to resolve before repeated use, cleaning or owner adjustments disturb the evidence.
Prepare a Focused Workshop Review
Send the shop three items before returning: one normal distance photograph, one close photograph with scale and a short note describing when the issue appears. This lets the team prepare the correct light, tools and technician instead of restarting the diagnosis at the counter.
Bring the job sheet and original condition record. Point to the exact area without rubbing it. Demonstrate any changed function once, then stop. Repeated operation can make an electrical, mechanical or edge problem harder to trace.
Ask the reviewer to name the finding in plain language. The answer should identify material behaviour, installation detail, vehicle condition or a combination. It should also state whether the outcome is accept, monitor, local correction or replacement.
Before leaving, repeat the agreed check and photograph the final result. A focused review closes the loop and creates a useful record if the same area is inspected during later care, repair or removal.
Decide From Evidence, Not Appearance Alone
dust under PPF becomes manageable when the owner records the starting condition, asks for a vehicle specific method and repeats the same check at handover. Accept a tiny isolated point away from an edge that stays flat and is invisible from normal distance. Request review for fibres, raised particles, clusters, edge contamination and anything that creates a sharp tent in the film.
If you want the method checked before booking, ask a 3M Authorized Dealer such as 3M Pro Shop by P10X to write the panel or window plan into the job sheet.
Common Owner Questions
What should I photograph before work?
Photograph the full panel or window, both edges, nearby trim and any function that could be affected. Keep one normal distance view and one close view.
Should I judge the result immediately?
Judge function and safety immediately. Follow the installer guidance for temporary moisture, then repeat the appearance check under the same light after the settling period.
Can I fix a small edge myself?
No. Keep it clean and let the installer inspect it. Home trimming, pressing or lifting can enlarge the affected area and hide the original cause.
Does a higher specification prevent workmanship issues?
No. Product data describes the material. Preparation, cutting, handling and finishing still determine how that material performs on the car.
What makes a useful complaint record?
Include the date, panel or window, viewing condition, normal distance photo, close photo and any function change. Avoid edited images that hide scale.
When should the car stay at the workshop?
Keep it there when a warning light, electrical failure, unsafe visibility, loose component or active film lift appears during handover.
Find out the best protection for your car
Visit a 3M Pro Shop and discover the cost-effective 3M Protective Film and Window Tint

Author

Kelvin Cheen
Kelvin is an Automotive Solutions Consultant and Branch Manager at 3M Pro Shop. With 4+ years of field experience in premium vehicle surface protection, Kelvin specializes in flagship 3M technologies, including 3M Crystalline Black optical film and Ceramic IR tints, 3M Paint Protection Film (PPF), etc. His focus is on delivering transparent, engineering-backed advice to car and EV owners, cutting through sales upsells to ensure customers choose the exact thermal rejection and paint protection tailored to their driving needs.
Experience the future of window tinting
Visit a 3M Pro Shop and discover the revolutionary Crystalline CR BLK film