
Jetour T1 PPF: Which Panels New Owners Should Protect First
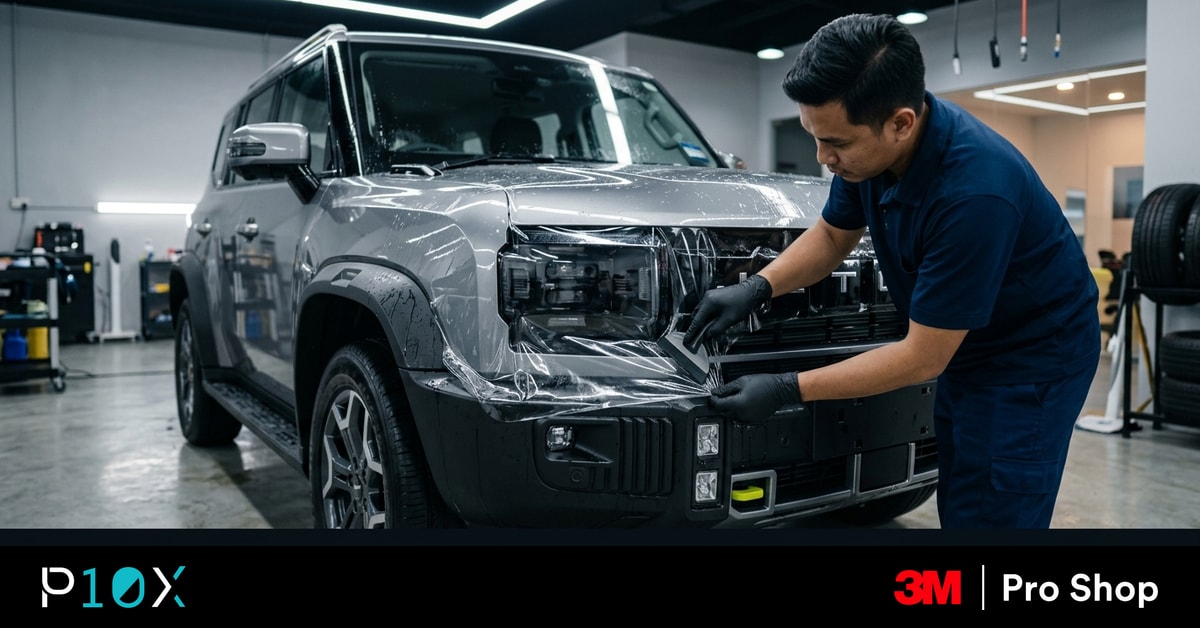
- On Malaysian highways, the Jetour T1's bonnet, front bumper, mirrors and headlamps take the bulk of stone chip strikes, so they earn film first.
- A 3M PPF layer of about 200 microns sits over a factory paint system of roughly 130 microns, adding a sacrificial shield about 50% thicker than the whole paint stack.
- Front end coverage suits most T1 owners, while full body suits long term keepers and daily highway runners.
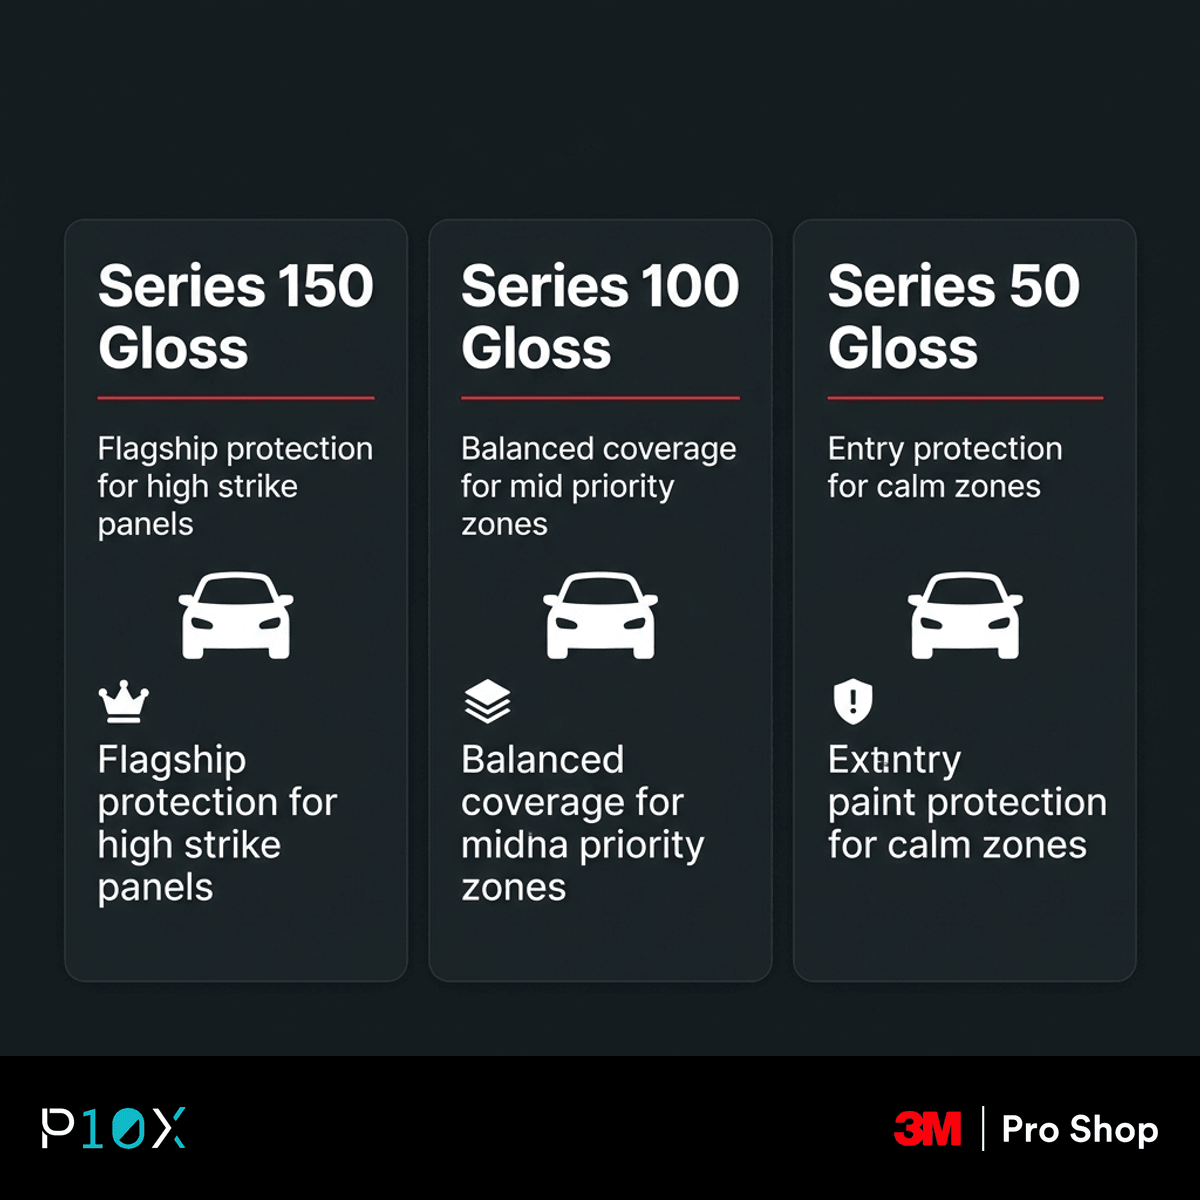
- 3M Series 150, 100 and 50 all share self healing, high gloss construction, differing mainly in thickness, stain resistance and coverage budget.
- Book installation within the first two weeks of collection, before the first chip and before the first wash leaves swirl marks.
Booking Jetour T1 PPF protection is one of the first jobs smart Malaysian owners sort out after collection, and the timing is not an accident. The T1's upright, boxy nose presents a big target to highway debris, and the fresh CKD paint on a delivery-new car is the perfect surface for film to bond to. If you want the wider context first, our KL driver guide to PPF for stone chips in Malaysia explains why certain panels always get hit before others.
Owner groups for this model tell the same story worldwide: new T1s are getting wrapped within days of delivery, and pre cut kits for the car are already appearing on marketplaces. The appetite is real, but so is the confusion about which panels actually need film, which series makes sense at this price point, and whether a kit from the internet can match a warranted professional install.
This guide answers all of that as a decision plan rather than a sales pitch. You will get a panel priority map for the T1, an honest front end versus full body breakdown, the differences between the three 3M series sold here, the mistakes new owners make, and what a proper installation involves from drop off to collection.
What PPF Actually Does for Your T1
Why the First Two Weeks Matter
Film bonds best to paint that has never been damaged. A T1 straight from the showroom needs no polishing, no touch up, and no paint correction, which means the installer's whole day goes into fitting film rather than fixing the past. Wait a few months and the equation changes, because every chip that arrives before the film has to be cleaned and touched up first, or it stays visible under the layer forever.
The washing habit is the quieter risk. Most new cars collect their first swirl marks not on the highway but in the condo carpark, when a single bucket and a tired sponge grind dust into the clear coat. Our guide to new car swirl marks in Malaysia shows how quickly they appear. Film applied in week one covers the paint before that first careless wash ever happens.
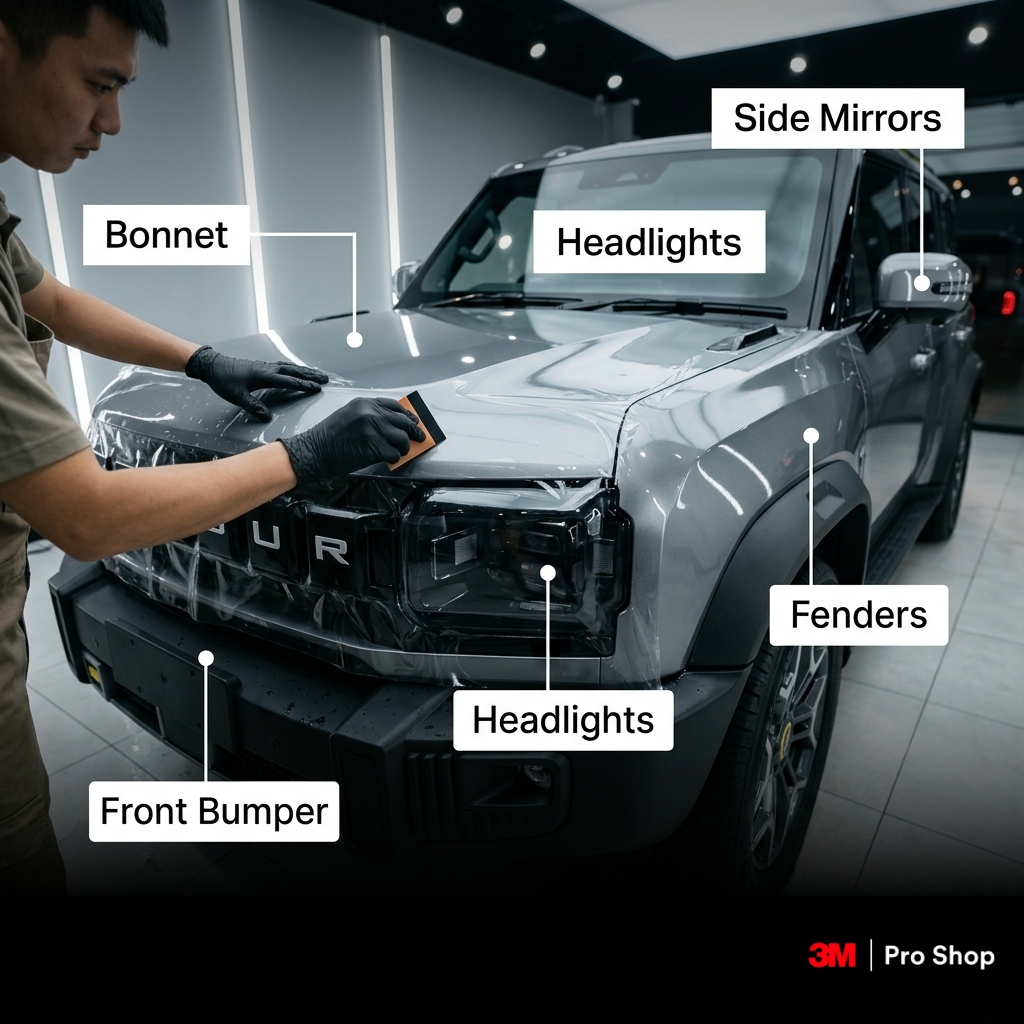
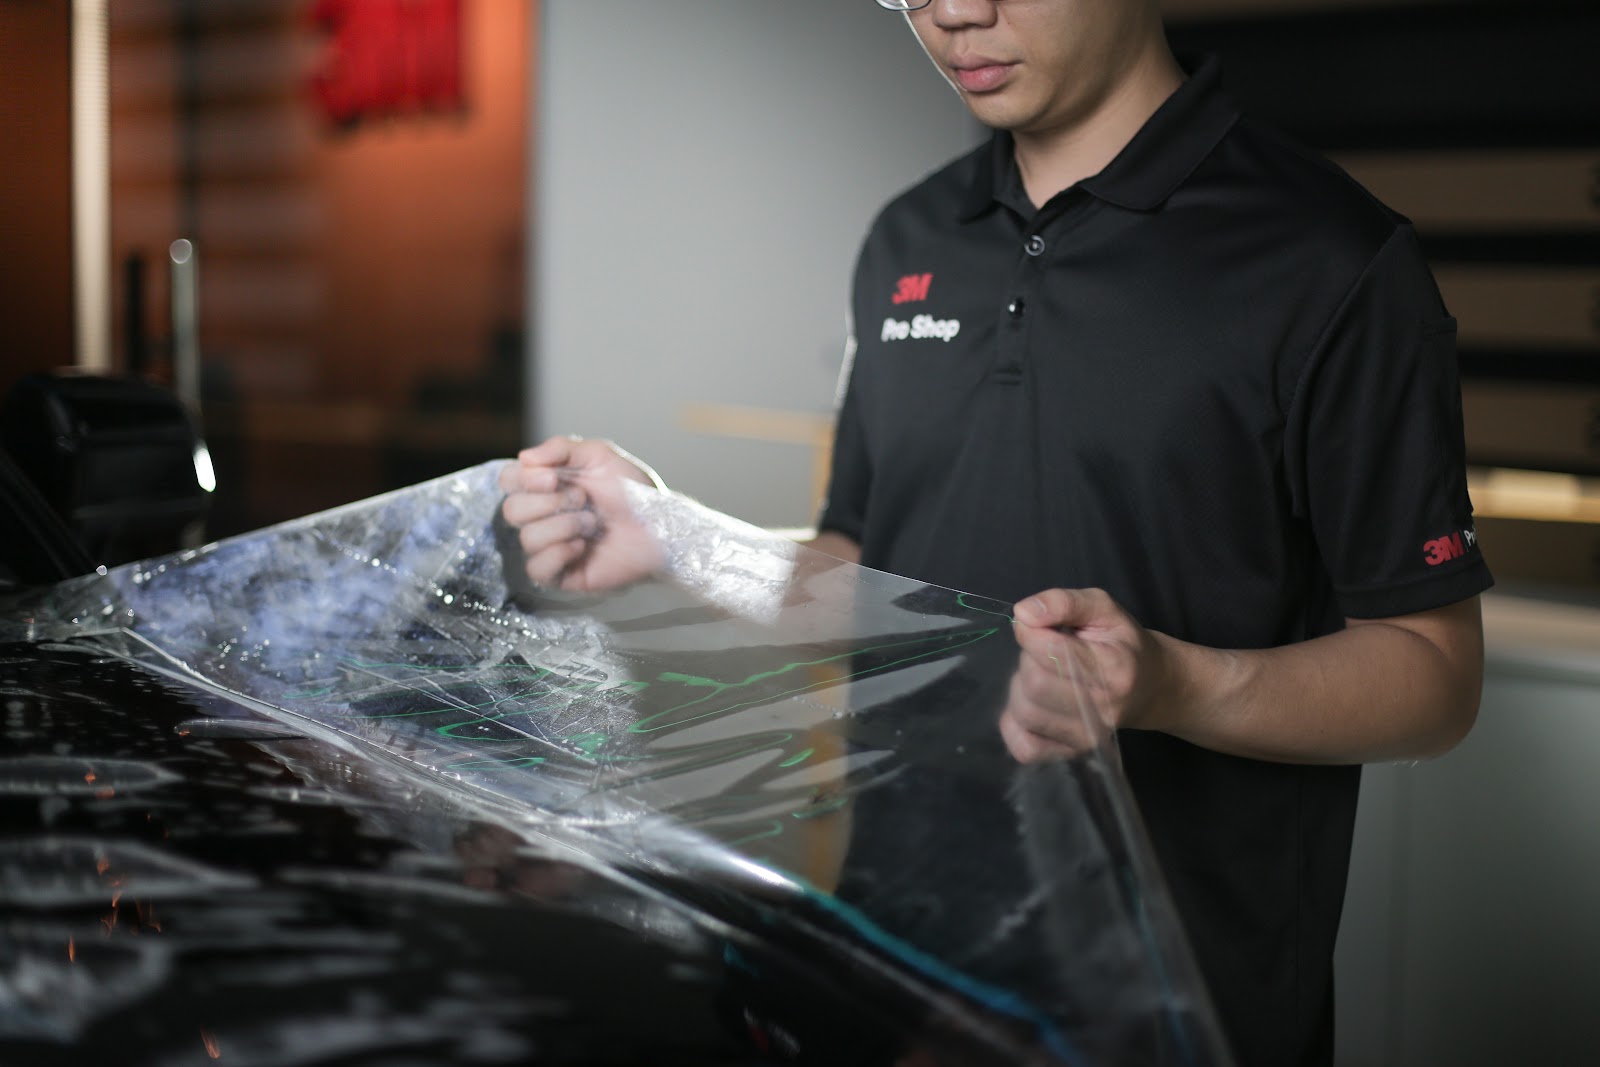
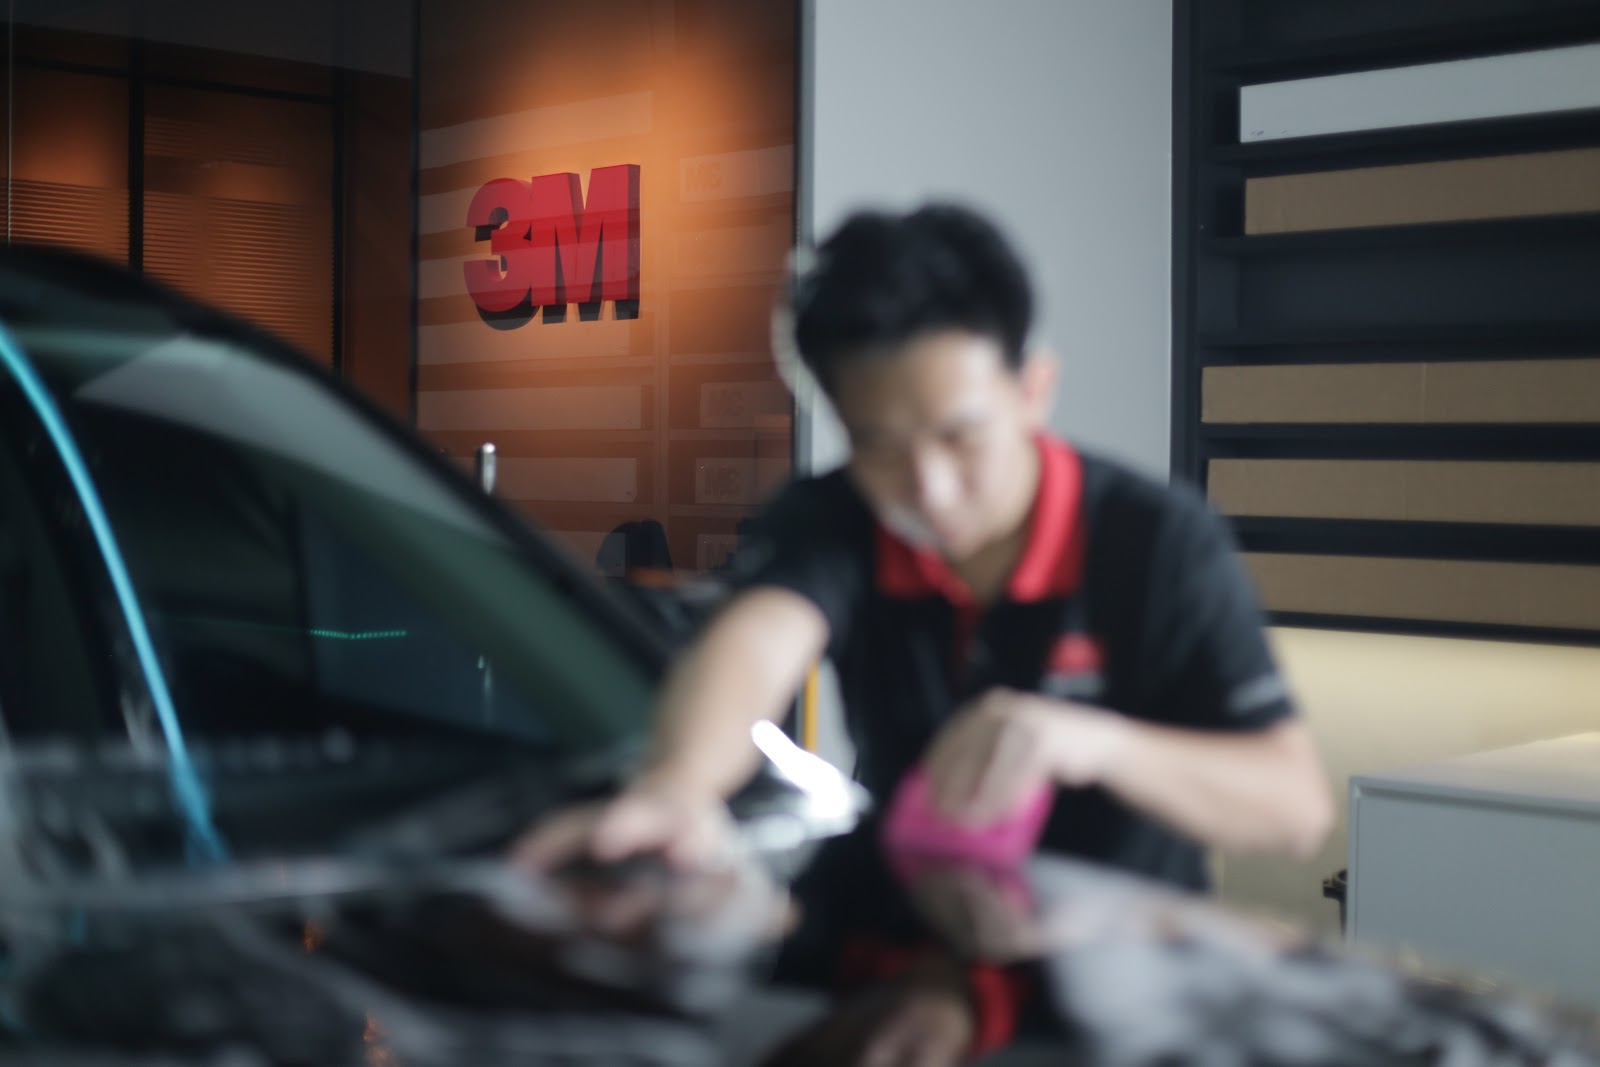
A simple timeline works well: collect the car on day one, book a paint inspection within week one, and have the film on by week two. The photo below shows the preparation stage, where the installer measures and handles the film before it ever touches the car, which is exactly the stage your T1 should be at while its paint is still untouched.
Which T1 Panels Get Hit First
Strike patterns on Malaysian highways are predictable. Anything facing forward and low collects the most hits, because that is where debris kicked up by other vehicles lands first, and the T1's upright front end simply presents more area to that spray than a sloped sedan nose. Our KL highway stone chip map documents where PLUS, NKVE, MEX and Karak do the most damage, and the panels named there match the priority order below.
There is a second family of damage that has nothing to do with speed: contact. The boot lip takes every box, groceries run and folded stroller dragged across it. Door cups collect fingernails and rings every time the handle is pulled. Door edges meet the next car in tight mall bays. These zones sit mid priority, below the highway strike face but well above the rest of the car.
Bonnet and Front Bumper
These two panels form the strike face. The front half of the bonnet and the full front bumper catch the densest debris at highway pace, so they get the thickest film first, no debate.
Mirrors and Headlamps
The mirrors sit outboard in the airflow and the T1's LED headlamps are expensive units with lenses that pit and haze over time. Both are small, cheap zones to protect relative to what they cost to replace or restore.
Sills, Doors and Boot Lip
The mid priority band: A pillars and front wings behind the front wheels, door cups and edges, and the boot lip with the rear bumper top. Add these once the strike face is covered, especially if the T1 is a family workhorse.
Here is the full priority table, matching each zone to the 3M series that fits its risk level.
| Panel | Strike risk | Recommended series | Coverage tier |
|---|---|---|---|
| Bonnet, front half | Very high | Series 150 | Protect first |
| Front bumper | Very high | Series 150 | Protect first |
| Side mirrors | High | Series 150 | Protect first |
| Headlamps | High | Series 100 | Protect first |
| A pillars and front wings | Medium | Series 100 | Add next |
| Door cups and door edges | Medium, contact | Series 100 | Add next |
| Boot lip and rear bumper top | Medium, loading | Series 100 | Add next |
| Sills and rear quarters | Lower | Series 50 | Optional |
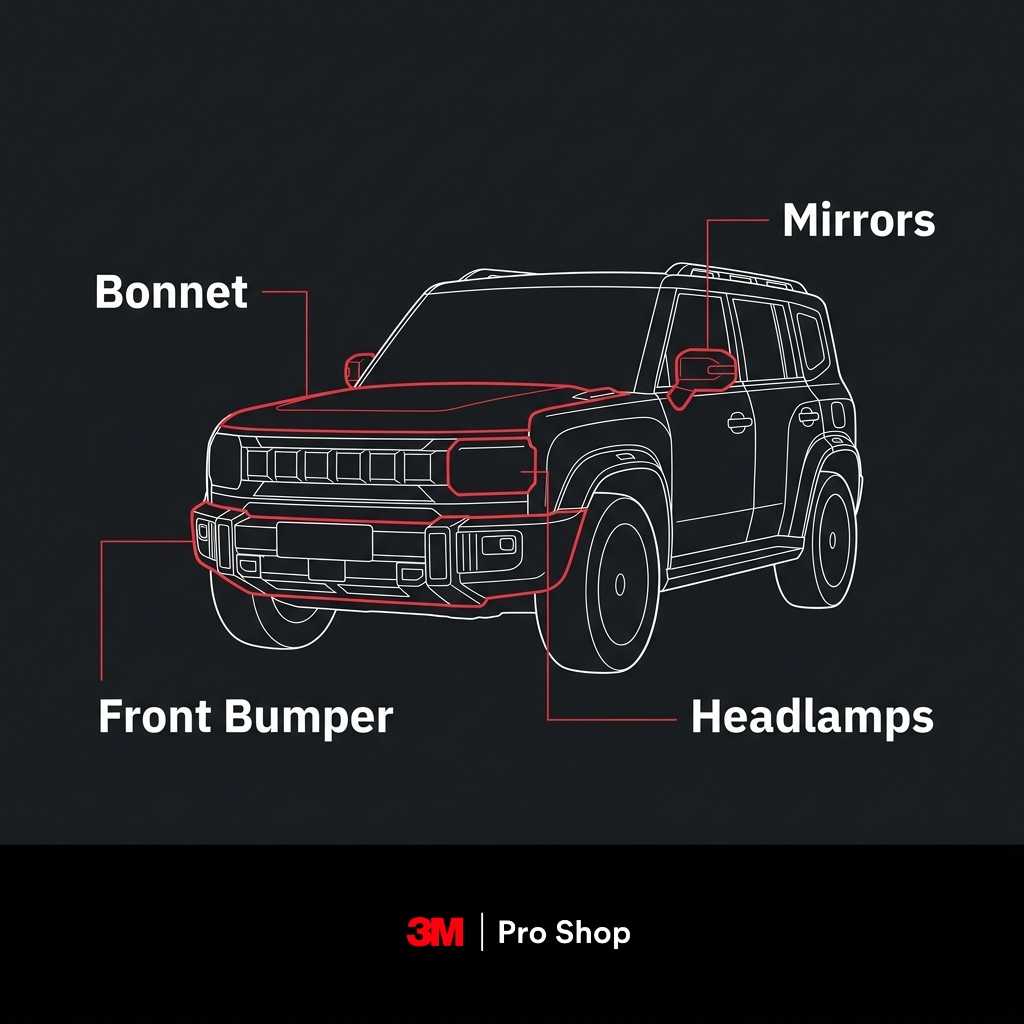
The series recommendations follow a simple logic: the harshest zones get the thickest, most stain resistant film, and the calmer zones step down a grade so budget goes where the risk actually lives. The map graphic below marks the protect first zones on the car.
Front End or Full Body for a T1?
Front end coverage protects the six zones that take the bulk of strikes: bonnet front half, bumper, mirrors, headlamps, and usually the front wings. For most T1 owners this is the sensible answer, because it addresses the highway reality of the car without wrapping panels that rarely see damage. The strike face is where the risk concentrates, and the strike face is what you film.
Full body earns its keep for a specific owner profile. If you plan to keep the T1 for seven years or more, if your week includes daily NKVE or MEX running, or if resale condition matters to you, wrapping every painted panel locks in the delivery finish for the whole ownership run. The same decision logic applies whether the car is a RM130,000 family SUV or something twice the price: coverage should follow strike risk, not emotion.
A simple decision rule: weekend and school run cars do well on the front end set plus the contact zones, while daily highway commuters and long term keepers should price up full body. Watch the reel below for a quick look at what the film is actually engineered to survive before you decide how much of the car deserves it.
Picking a 3M Series for Your T1
All three series sold in Malaysia share the same core construction: self healing urethane that repairs light scratches with heat, a high gloss finish, and an adhesive designed to allow repositioning during fitting so lift lines are minimised. The differences come down to thickness, stain resistance and how much coverage your budget stretches to. On a 45 minute Kepong to Putrajaya commute five days a week, your bonnet collects more strikes in a month than the roof sees in a year, which is exactly why series choice should follow panel risk.
Series 150 Gloss
The flagship, at about 200 microns. It carries the best stain resistance in the range, a hydrophobic top coat that sheds water and grime, and the clearest finish with the least orange peel. This is the series for the strike face panels and for owners who want the strongest version of everything.
Series 100 Gloss
The balanced choice, at about 190 microns. It protects against the same family of threats at a friendlier figure, which is why it covers the mid priority zones in our table. Most T1 builds mix Series 150 up front with Series 100 across the secondary panels.
Series 50 Gloss
The entry point, at 185 microns, giving basic invisible protection for the calmest zones or the tightest budgets. Our 3M PPF series comparison lays the three side by side if you want the full detail. One note on finish: the local 3M range is gloss, so if you are tempted by a matte look over the T1's two tone body and black cladding, speak to the shop about what is actually available before committing, because the regret threshold on finish changes is real.
The graphic below condenses that series choice into one glance, matching each film to the job it does on the car.
The self healing behaviour mentioned above is worth seeing once, and the short reel below shows light marks relaxing out of the film with heat, which is exactly what happens to car park scuffs in the Malaysian sun.
PPF Mistakes New T1 Owners Make
The regret stories in owner groups are consistent, and they are all avoidable with a little planning in the first fortnight of ownership.
Mistake 1: Waiting for the First Chip
The most expensive panel protection is the one booked after the damage. Every chip that lands before the film needs touching up, and touched up paint under film is a permanent record. The whole point of the two week window is getting the layer on while there is nothing to hide.
Mistake 2: Buying on Price Alone
Marketplace pre cut kits and unbranded films exist for the T1 already, and they fail in predictable ways in local heat: edges lifting, adhesive marks, and no registered warranty behind them. A 3M Authorized Dealer fits film with traceable batches and registers your coverage, which is the part of the purchase that actually protects you long term.
Mistake 3: Skipping the Headlamps
The T1's LED units sit right in the debris path, and pitted lenses haze over years until light output suffers. Headlamp film is one of the cheapest zones on the list, and our guide to headlight PPF in Malaysia covers the questions owners ask about heat and cracking.
Mistake 4: Washing Too Soon
Fresh film needs 72 hours before its first wash, and brush car washes stay off the list permanently because their bristles can scratch the surface and lift edges. Hand washing with clean mitts and separate buckets is the routine that keeps the film invisible.
What a Proper Install Looks Like
A quality job starts with inspection, not film. The installer examines every panel under bay lighting, takes paint thickness readings across the car, and notes anything that needs attention before coverage. On a week old T1 this is usually a clean sweep, but the habit is what separates a documented professional job from a quick fit.
Fitting happens panel by panel in a controlled bay: surfaces are prepped, the film is floated on with slip solution, positioned, and squeegeed down with overlapping passes, with edges wrapped where the panel shape allows so no line catches your eye. Before you collect the car, the installer registers your 3M warranty against the vehicle, your proof that genuine film went on and that coverage exists if a covered defect ever appears.
Aftercare is minimal but specific. No washing for 72 hours after the install, hand wash preferred from then on, and touchless washes only when necessary. Our PPF aftercare guide for Malaysia covers the long term routine. Drop the car at 9am and most front end sets are ready the same evening, while full body work runs into a second day. The photo below shows the squeegee stage on a windscreen panel, where each pass settles the film onto the surface before the edges are finished.
Protecting Your T1's Paint From Day One
The decision compresses into three moves. Film the strike face first with Series 150 on the bonnet, bumper and mirrors, add the contact zones in Series 100 as budget allows, and make the call between front end and full body based on how long you keep cars and how much highway you run. Do it inside the first two weeks and the film goes over paint that has never needed a single repair.
If you want this exact plan applied to your T1, bring it to a 3M Authorized Dealer such as 3M Pro Shop by P10X for an inspection and a written per panel quote, since vehicle size, panel count and series choice all shape the final figure. You can review the film options on the 3M PPF page and find your nearest bay on our locations page before you visit.
Find out the best protection for your car
Visit a 3M Pro Shop and discover the cost-effective 3M Protective Film and Window Tint
Jetour T1 PPF FAQ
Which panels need PPF most on a Jetour T1?
The bonnet front half, front bumper, side mirrors and headlamps take the bulk of highway strikes on Malaysian roads, so they earn film first. Door cups, door edges and the boot lip follow as the contact zones.
Is front end PPF enough for a Jetour T1?
For most owners, yes. The front end set covers the panels that actually collect chips, and it suits weekend and city use. Daily highway commuters and owners keeping the car seven years or more should price full body coverage.
Can PPF go over existing stone chips?
Technically yes, but the chip stays visible under the film and can telegraph through the surface. Chips should be touched up and cured before filming, which is why filming a new car before the first strike is always the better path.
Should a new Jetour T1 get PPF before its first wash?
Ideally yes. The first careless wash is when swirl marks start, and film applied over untouched paint needs no polishing or correction. Booking the install inside the first two weeks of collection is the cleanest timeline.
Does PPF change how the Jetour T1's paint looks?
No. The 3M series sold here are high gloss films engineered for clarity, so the factory colour and the T1's two tone contrast read exactly as delivered. Most people cannot tell a filmed panel from an unfilmed one without being shown an edge.
How soon can I wash my Jetour T1 after PPF?
Wait 72 hours after installation before the first wash so the adhesive can settle. After that, hand washing is preferred, brush washes are off the list, and touchless washes are acceptable when time is short.
Author

Kelvin Cheen
Kelvin is an Automotive Solutions Consultant and Branch Manager at 3M Pro Shop. With 4+ years of field experience in premium vehicle surface protection, Kelvin specializes in flagship 3M technologies, including 3M Crystalline Black optical film and Ceramic IR tints, 3M Paint Protection Film (PPF), etc. His focus is on delivering transparent, engineering-backed advice to car and EV owners, cutting through sales upsells to ensure customers choose the exact thermal rejection and paint protection tailored to their driving needs.
Experience the future of window tinting
Visit a 3M Pro Shop and discover the revolutionary Crystalline CR BLK film